How to Clean Your Keyboard: Keep Your Keys Shiny with Metal Keycaps
Keeping your keyboard clean is essential for both hygiene and performance. Whether you're a gamer, a professional, or just an everyday user, a clean keyboard can enhance your experience. In this guide, we'll show you how to clean your keyboard effectively and explain why metal keycaps are an excellent choice for durability and ease of maintenance.

Why Clean Your Keyboard?
Keyboards can accumulate dust, dirt, and even food particles over time. This build-up can lead to:
- Unresponsive keys: Dirt and debris can block key mechanisms, making them sticky or unresponsive.
- Poor hygiene: A dirty keyboard can harbor bacteria and germs, posing a health risk.
- Aesthetic decline: Dust and grime can make your keyboard look unattractive.
Tools You’ll Need
Before you start cleaning your keyboard, gather the following tools:
- Compressed air can
- Soft brush (like a toothbrush)
- Microfiber cloth
- Isopropyl alcohol (70% or higher)
- Cotton swabs
- Keycap puller
Step-by-Step Cleaning Guide
-
Unplug Your Keyboard: Always disconnect your keyboard from your computer or power source to avoid any electrical issues.
-
Remove Keycaps: Use a keycap puller to gently remove the keycaps. This will allow you to clean beneath them thoroughly. If you have metal keycaps, they are usually easier to remove and clean due to their robust construction.
-
Shake Out Debris: Turn your keyboard upside down and gently shake it to dislodge any loose debris.
-
Use Compressed Air: Spray compressed air between the keys to blow out any remaining dust and particles. Make sure to do this in a well-ventilated area.
-
Brush Away Dirt: Use a soft brush to remove any stubborn dirt from the surface and between the keys. Be gentle to avoid damaging the key switches.
-
Clean with Alcohol: Dampen a microfiber cloth with isopropyl alcohol and wipe down the keyboard’s surface. For hard-to-reach areas, use cotton swabs dipped in alcohol. Metal keycaps can be cleaned more rigorously without fear of damage.
-
Dry and Reassemble: Let your keyboard dry completely before reattaching the keycaps. Metal keycaps, due to their material, dry quickly and are less prone to retaining moisture.
-
Final Touch: After reattaching the keycaps, give your keyboard one final wipe to remove any fingerprints or smudges.
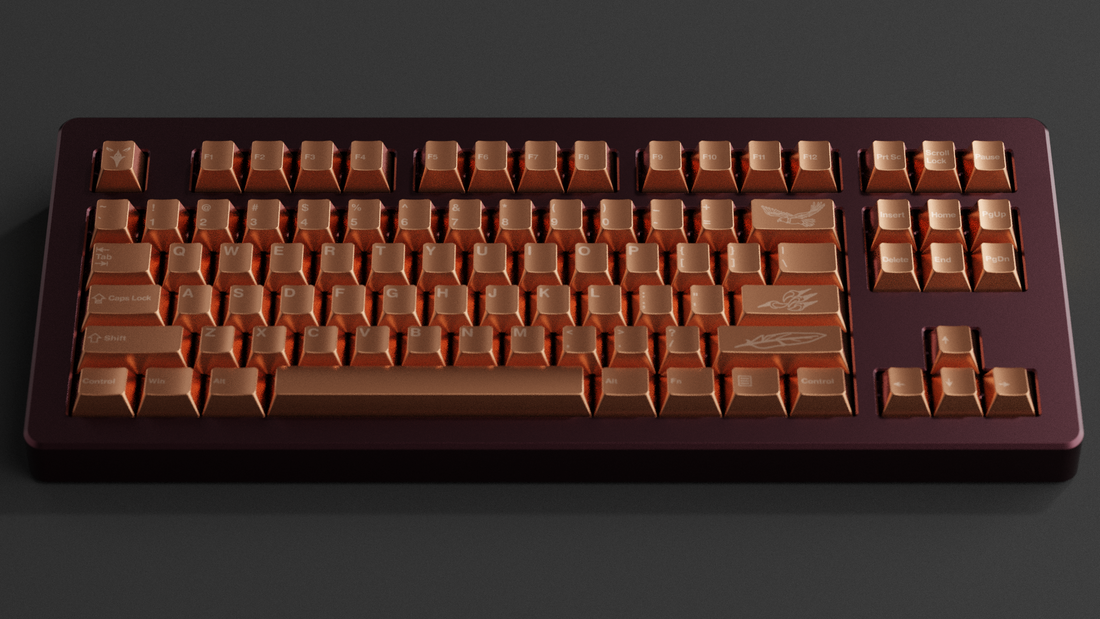
The Advantages of Metal Keycaps

Switching to metal keycaps has several benefits:
- Durability: Metal keycaps are more resistant to wear and tear compared to plastic ones.
- Easy to Clean: Their smooth surface makes it easier to wipe away dirt and grime.
- Aesthetic Appeal: Metal keycaps add a sleek, modern look to your keyboard.
- Resistance to Stains: Unlike plastic, metal does not absorb oils from your fingers, making them less prone to discoloration.
Conclusion
Regularly cleaning your keyboard is crucial for maintaining its functionality and hygiene. By following these steps, you can ensure your keyboard stays in top condition. Investing in metal keycaps not only enhances the durability of your keyboard but also makes the cleaning process simpler and more effective. Keep your keys shiny and your typing experience pleasant by incorporating these tips into your routine.
By maintaining a clean keyboard, you can enjoy a more efficient, comfortable, and hygienic typing experience.
FAQ
Q1: How often should I clean my keyboard?
A: Ideally, you should clean your keyboard once a month. However, if you use it heavily or eat near it, more frequent cleaning may be necessary.
Q2: Can I use water to clean my keyboard?
A: It's best to avoid water as it can damage the electronics. Use isopropyl alcohol and a microfiber cloth instead.
Q3: Are metal keycaps compatible with all keyboards?
A: Metal keycaps are generally compatible with mechanical keyboards. Ensure they fit your specific keyboard model before purchasing.
Q4: What should I do if my keyboard still doesn't work after cleaning?
A: If cleaning doesn't resolve the issue, there may be an internal problem. Consider seeking professional repair services.