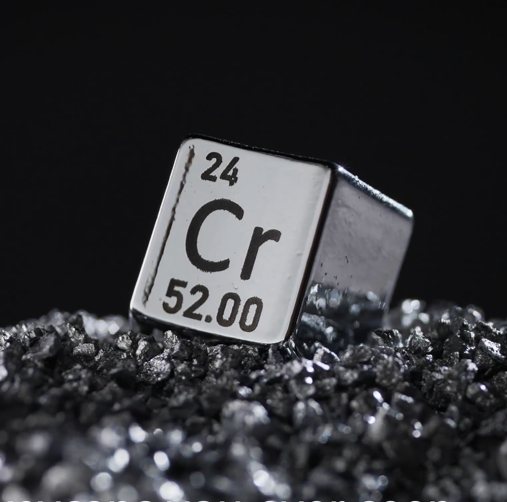
An artisan keycap is a custom-made keycap for mechanical keyboards, often crafted by hand or in small batches. These keycaps are celebrated for their unique designs, intricate details, and the personalized touch they bring to any keyboard setup. Unlike mass-produced keycaps, artisan keycaps are often made with creativity and artistic flair, making them highly sought after by keyboard enthusiasts and collectors.

Materials Used in Artisan Keycaps
Artisan keycaps are made from a variety of materials, each offering different aesthetics and tactile experiences. The most common materials include:
Plastic
- Resin: A popular choice for artisan keycaps, resin allows for vibrant colors and intricate designs. It is versatile and can be molded into various shapes and forms.
- ABS Plastic: Known for its durability and smooth finish, ABS plastic is another common material used in artisan keycaps. It allows for detailed sculpting and a comfortable typing experience.
Metal

- Aluminum: Lightweight yet sturdy, aluminum keycaps offer a premium feel. They are often anodized to achieve different colors and finishes.
- Brass: Heavier than aluminum, brass keycaps provide a substantial and luxurious feel. They develop a natural patina over time, adding to their unique character.
-
Stainless Steel: Known for its durability and weight, stainless steel keycaps offer a sleek and modern look. They are resistant to wear and corrosion.

Among metal keycaps, Awekeys stands out for its exceptional craftsmanship. Awekeys is renowned for creating custom keycaps and full metal keycap sets that are not only aesthetically pleasing but also highly functional. Their designs often incorporate intricate details and high-quality finishes, making them a favorite among keyboard enthusiasts. Shop Awekeys Keycaps Here.
How to Build a Keyboard with Custom Keycaps

Building a keyboard with custom keycaps involves several steps. Here’s a basic guide to help you get started:
1. Gather Your Components
- Keyboard PCB (Printed Circuit Board): The foundation of your keyboard where all components are connected.
- Switches: Choose mechanical switches based on your preference for actuation force and tactile feedback.
- Keycaps: Select your custom artisan keycaps and any additional standard keycaps you need to complete your layout.
- Case: The housing for your keyboard, which can be made from various materials like plastic, aluminum, or acrylic.
- Stabilizers: Essential for larger keys to prevent wobbling.
- Soldering Equipment: If your PCB requires soldering for switch installation.
2. Assemble the PCB and Switches

- Mount Stabilizers: Install stabilizers on the PCB for larger keys such as the spacebar, shift, and enter keys.
- Install Switches: Place the mechanical switches into the PCB. Ensure they are securely fitted and aligned properly.
- Solder Switches: If your PCB is not hot-swappable, solder each switch into place. Be careful to avoid overheating the components.
3. Assemble the Case

- Mount PCB in the Case: Place the PCB into the keyboard case and secure it with screws or mounting points.
- Connect Wiring: Ensure all internal wiring is connected properly, including any LEDs or additional components.
4. Attach Keycaps

- Place Keycaps on Switches: Gently press your custom artisan keycaps onto the corresponding switches. Ensure they are securely attached and properly aligned.
- Test Alignment: Make sure all keys are level and there is no interference when pressing adjacent keys.
5. Test Your Keyboard

- Connect to Computer: Plug your keyboard into your computer and test each key to ensure proper functionality.
- Adjust if Necessary: Make any necessary adjustments to keycap placement or switch alignment.
Building a keyboard with custom keycaps is a rewarding process that allows for a high degree of personalization. Whether you prefer the vibrant designs of resin keycaps or the premium feel of metal keycaps from Awekeys, custom keycaps can transform your typing experience and make your keyboard truly one-of-a-kind.


